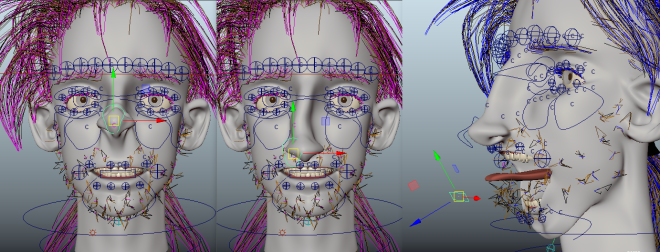
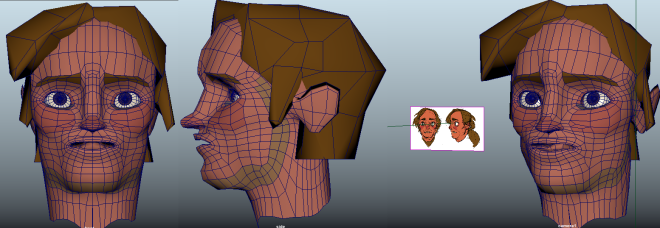
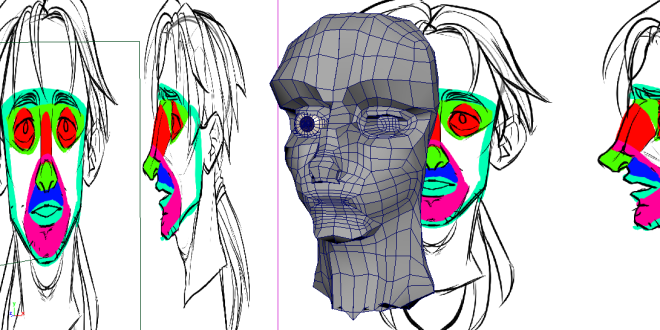
These are the references for the three facial postures I’m using: “happy”, “wary”, and “suave/model-esque posing”.

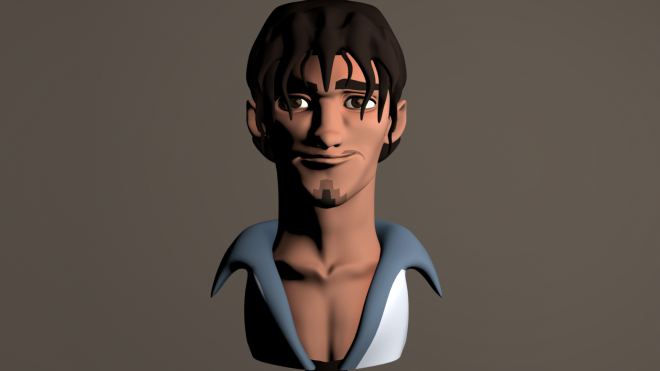
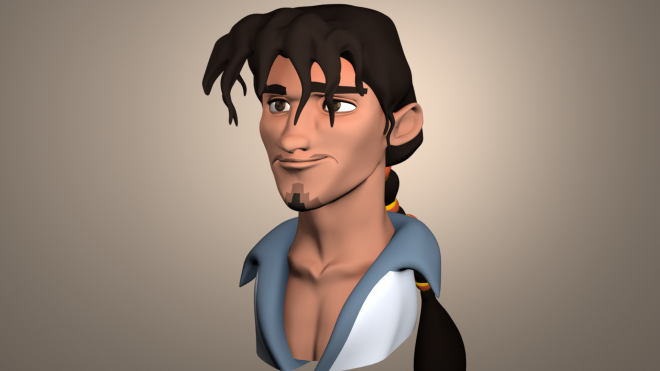
Happy

Wary

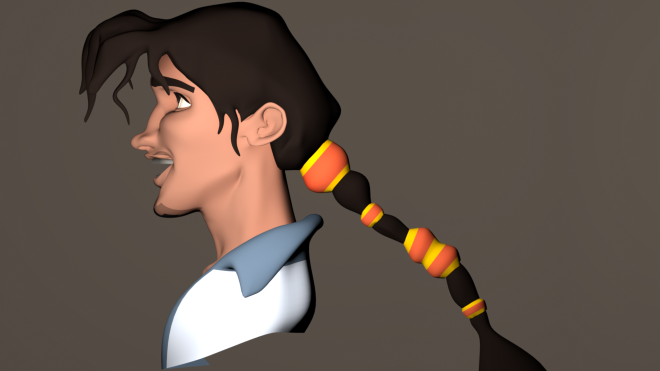
Suave/Model-esque posing
So the basic things I was shooting for in each pose was
For “happy”: High key lighting schemes, facial features are fully exposed and the shadows are more or less natural-looking.
For “wary”: Low key lighting schemes, lights that tell more of a “narrative” (aka light with more of a clear direction)
For “suave”: Studio portraiture-esque lighting, more light than shadow though still maintaining a medium amount of shadow to showcase form
I will also provide additional commentary on why I chose certain poses on each individual still.
Light high above viewpoint – Wary

Reason: Darkened eyesockets, more hollowed looking cheekbones give a more solemn feeling which fits the “wary” expression the best.
Light above viewpoint – Happy
Reason: Face is completely lit and the light is at a naturalistic position which helps aids the “happy” expression in looking like a genuine smile.
Light at viewpoint – Happy
Reason: High key with face few shadows which would emphasize a fuller expression like the “happy” posture.
Light below viewpoint – Wary

Reason: Air of mystery adds a narrative to the “wary” gaze, both lighting scheme and “wary” expression give a feeling of unease.
Light 45 degrees to the side and above – Suave
Reason: A pretty standard portrait photoshoot scheme that emphasizes the cheekbones/facial curvature and therefore the charisma of the face.
Light directly to the side – Wary
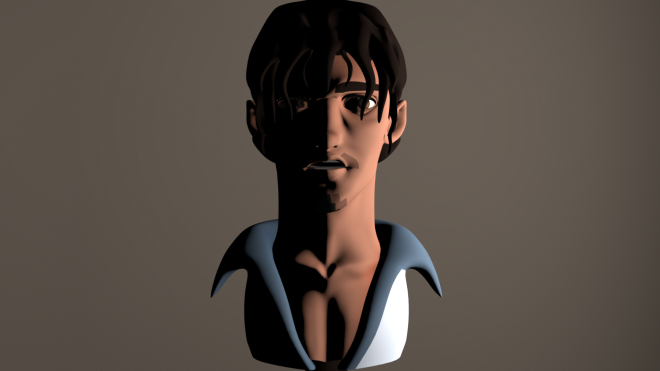
Reason: It was a debate between the “wary” and “suave” expression, but ultimately the “wary” expression won out because the brow, inner cheek, and inner eye shadows on the lit side aided the solemn feeling that the “wary” expression gives out.
Short lighting – Suave
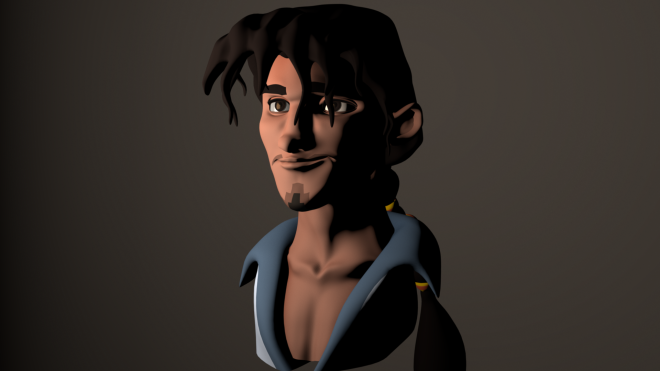
Reason: Though there is a lot of shadow, a good amount of it is soft and flatters rather than obscure.
Butterfly lighting – Happy
Reason: High key with light that fits a fuller expression that the “happy” posture offers.
Broad Lighting – Wary

Reason: Half the face is in hard shadow which adds a more negative/cautionary tone.
Light on side, camera on side – Happy
Reason: High key, illuminates expression in a fittingly positive way.
Light on front, camera on side – Suave

Reason: Deep shadows that emphasize the curvature of the face while still keeping the expression visible and flattering.
Partial backlight – Wary

Reason: Darker look that adds interest in the direction of the light over flattering the face.
Silhouette profile – Happy
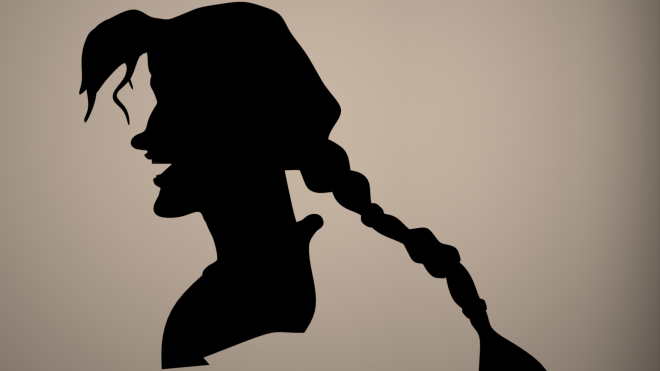
Reason: The most important aspect is the silhouette rather than any surface details, and the smiling curve of the “happy” posture is the most recognizable emotion out of the three postures. The lit background also helps in creating a more positive feeling that suits the smile.
Multiple source lighting – Suave
Reason: It was a debate between the “suave” and “happy”, but ultimately “suave” won out because the lighting set up is very much like a standard portrait photoshoot set up which would fit the more posed “suave” look.


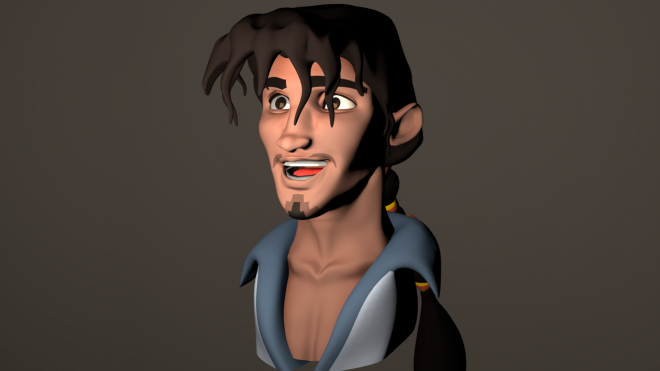
 There’s some expressions that I’m not quite sure I want to go with, but an overall okay animation is done so far. I think I’ll be keeping the lighting as it is unless it needs to be changed.